

Key Takeaways
- Hole size determines your repair method: small dings need only spackle, medium holes need a mesh patch, and large gaps require a backer board.
- Applying joint compound in thin, multiple coats produces a smoother finish than one thick application.
- Adequate drying time between coats - typically 24 hours - is essential before sanding or painting.
- Feathering compound edges outward hides the patch boundary and makes repainting seamless.
- Texture matching is often the hardest part; test spray or stipple techniques on cardboard before applying to the wall.
What you will need
Understanding Your Repair Before You Start
Drywall - also called gypsum board or sheetrock - is a gypsum plaster core sandwiched between layers of paper. That construction makes it easy to cut and finish but also relatively easy to dent, puncture, or crack. The good news is that nearly every type of damage is repairable with patience and a few inexpensive materials.
The most important factor is hole size. A nail pop or picture-hook hole takes five minutes to fix. A doorknob-sized impact takes a couple of hours spread over two days of drying time. A large section of damaged board may require cutting in new drywall and takes closer to a weekend project - though none of these jobs require a professional unless you discover something unexpected behind the wall.
Not sure where your particular job falls on the DIY spectrum? Our guide to deciding when to DIY can help you set realistic expectations before you start.
Check for Hidden Wiring and Pipes First
Before cutting into any drywall, use a stud finder with AC detection or a handheld wire tracer to confirm there are no electrical wires or plumbing behind the damaged area. Cutting into live wiring is a serious shock and fire hazard. If you find any utilities in the repair zone, stop and consult a licensed electrician or plumber before proceeding.
What you will need
Spackle or lightweight joint compound
Fills and levels the patched area; used for all hole sizes.
Putty knife or drywall knives (4", 6", 10")
Applies and feathers compound smoothly across the repair.
Self-adhesive mesh patch (4"-8" squares)
Bridges medium holes (1"-6") and provides a surface for compound to grip.
Drywall backer board or California patch
Supports large patches that lack structural backing behind the wall.
Drywall screws and screw gun
Fastens new drywall pieces or backer boards securely to studs or blocking.
Fine-grit sandpaper (120-150 grit)
Smooths dried compound between coats and before painting.
Primer
Seals the compound so finish paint adheres and color matches evenly.
Drywall texture spray or brush
Restores surface texture to match surrounding wall when needed.
Step-by-Step Repair Instructions
Follow these steps in order. Rushing the drying stages is the most common reason patches crack, shrink, or show through paint - budget enough time for each coat to cure fully.
Assess the hole and choose your repair method
Measure the damaged area so you can select the right approach:
- Nail holes and small dings (under ½") - spackle or lightweight joint compound applied directly with a putty knife.
- Medium holes (½" to 6") - self-adhesive mesh patch backed with two to three coats of joint compound.
- Large holes (over 6") - a cut-in drywall piece secured to backer boards or studs, then taped and finished.
Also check whether the surrounding drywall is firm. If edges crumble or the panel feels soft, cut back to solid material before patching.
Prepare the damaged area
Use a utility knife to clean up ragged edges, removing any loose paper or crumbled gypsum. For large holes, cut a clean rectangle or square using a drywall saw, extending to the nearest stud if possible. Smooth surfaces bond better and reduce the chance of compound cracking later.
Install backing support for medium and large holes
For medium holes: Center a self-adhesive mesh patch over the opening and press it firmly to the surrounding wall surface.
For large holes: Cut two lengths of 1×3 or 1×4 lumber slightly longer than the hole's height. Insert them through the opening and hold them against the back face of the existing drywall on each side, then drive drywall screws through the existing drywall into the boards. Cut a drywall piece to fit the opening, press it into place, and screw it to the backer boards. Apply drywall tape (paper or mesh) over all seams.
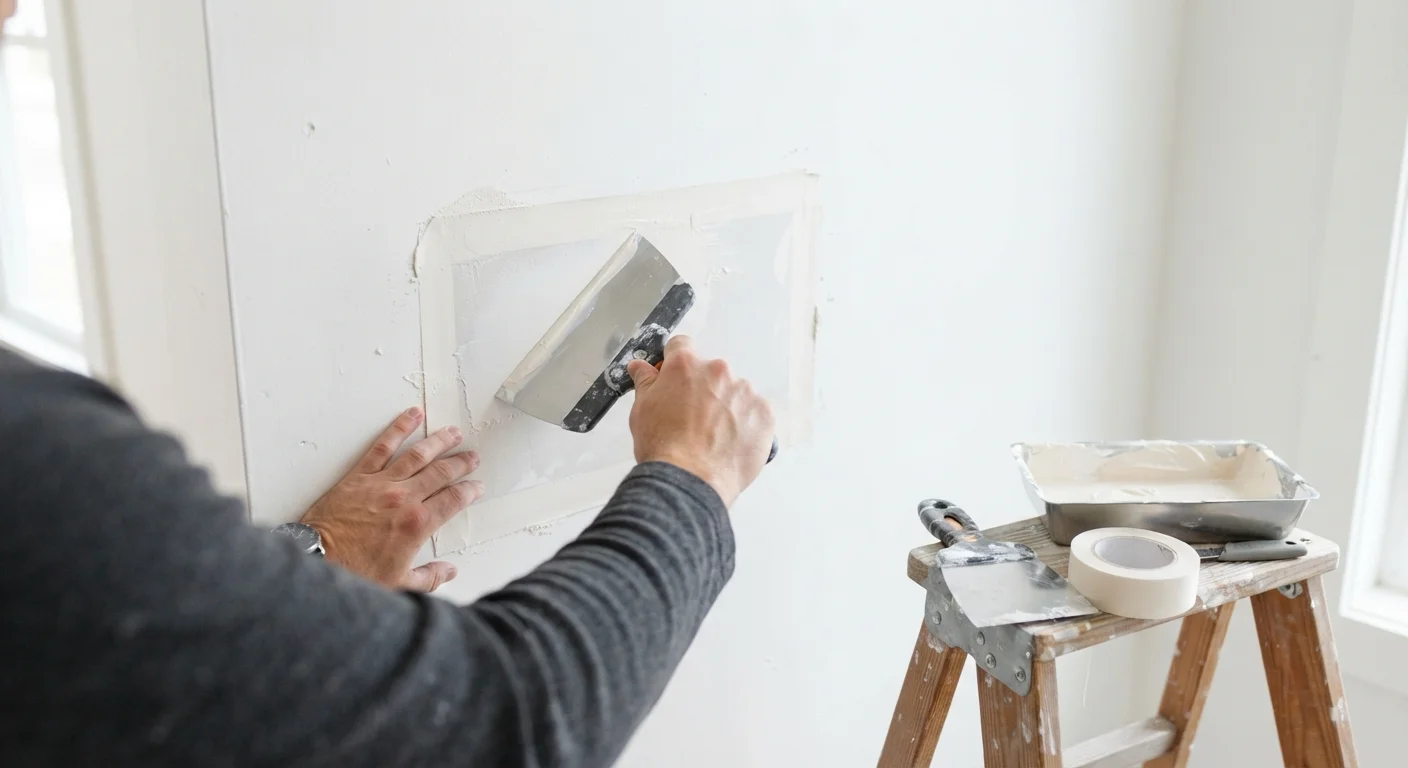
Apply the first coat of joint compound
Load your 6-inch knife and spread a thin, even coat of joint compound over the mesh, tape, or spackle, pressing it firmly into any voids. For small repairs, one thin layer may be enough to cover. For medium and large patches, aim to bring the compound level with - or very slightly above - the surrounding wall. Let this coat dry completely, which typically takes about 24 hours depending on humidity and temperature.
Sand, then apply second and third coats
Once the first coat is dry, sand lightly with 120-grit paper to knock down ridges. Wipe away dust with a damp cloth. Apply a second, wider coat using a 10-inch knife, extending the edges farther out to feather the patch. After drying, sand again and apply a third thin skim coat if needed. The goal is a surface that feels smooth under your palm with no detectable edge.
Prime and paint the repaired area
Bare joint compound is porous and will absorb paint unevenly - a condition called flashing - if you skip primer. Apply a coat of drywall primer or PVA primer to the patched area and allow it to dry fully. Then paint over the repair to match the surrounding wall. For best results, roll the entire wall panel rather than spot-painting, which can highlight sheen differences.
Feather Edges for an Invisible Patch
Each successive coat of joint compound should extend 2-3 inches beyond the previous layer. This gradual blending - called feathering - eliminates ridges and makes the repaired area virtually undetectable after painting. A wider, flexible drywall knife (10-12 inches) helps achieve a natural taper on the outer edges.
Older Homes May Contain Lead Paint
Homes built before 1978 may have lead-based paint on drywall or plaster surfaces. Sanding or disturbing painted surfaces in older homes can release harmful dust. Consider purchasing an inexpensive lead-test swab kit before sanding, and follow EPA Renovation, Repair, and Painting (RRP) guidelines for containment and cleanup if lead is detected.
Common Problems and How to Fix Them
Even careful patches sometimes run into issues. Here are the most frequent problems and their fixes:
- Compound cracking after drying: Usually caused by applying too thick a single coat. Sand the area, dampen slightly, and apply thinner successive coats.
- Patch visible after painting: The compound wasn't feathered wide enough. Skim a broader coat, re-prime, and repaint.
- Texture mismatch: Practice your spray or stipple technique on cardboard before touching the wall. Slight variations often disappear once the paint sheen is uniform across the entire wall surface.
- Soft or crumbling drywall around the hole: Likely moisture damage. Identify and fix the moisture source before patching, or the repair will fail and mold may develop inside the wall cavity.
If moisture is the underlying issue, this moves beyond a cosmetic patch into a repair that may involve insulation, vapor barriers, or plumbing - work that warrants professional evaluation.