

Key Takeaways
- Drafty doors and windows are often caused by worn or missing weatherstripping that is easy to replace yourself.
- Choosing the right weatherstripping type depends on the gap size and location.
- A clean, dry surface is essential for adhesive weatherstripping to bond correctly and last longer.
- Most weatherstripping projects require only basic tools and cost under $30 in materials.
- Inspect weatherstripping at least once a year as part of regular seasonal home maintenance.
What you will need
Why Weatherstripping Wears Out - and Why It Matters
Weatherstripping creates a flexible seal around movable parts of your home's envelope - door edges, window sashes, and the gaps they travel through. Over time, compression, UV exposure, and repeated friction break down the material, leaving gaps that let conditioned air escape and outside air in year-round. The result is not just discomfort; a poorly sealed home can work your heating and cooling systems harder than necessary.
Before buying materials, identify where drafts are actually coming from. On a windy day, hold a lit incense stick or a thin strip of tissue near the perimeter of a closed door or window. Flickering or deflection points to the problem zone. Also look for visible daylight around door edges, cracked or crumbling foam, or a door sweep that no longer grazes the threshold.
Weatherstripping is one of several tasks worth scheduling regularly. See our seasonal home maintenance checklist for a full room-by-room inspection routine.
What you will need
Choosing the Right Type of Weatherstripping
Not all weatherstripping is interchangeable. Matching the product to the location and gap size saves frustration later.
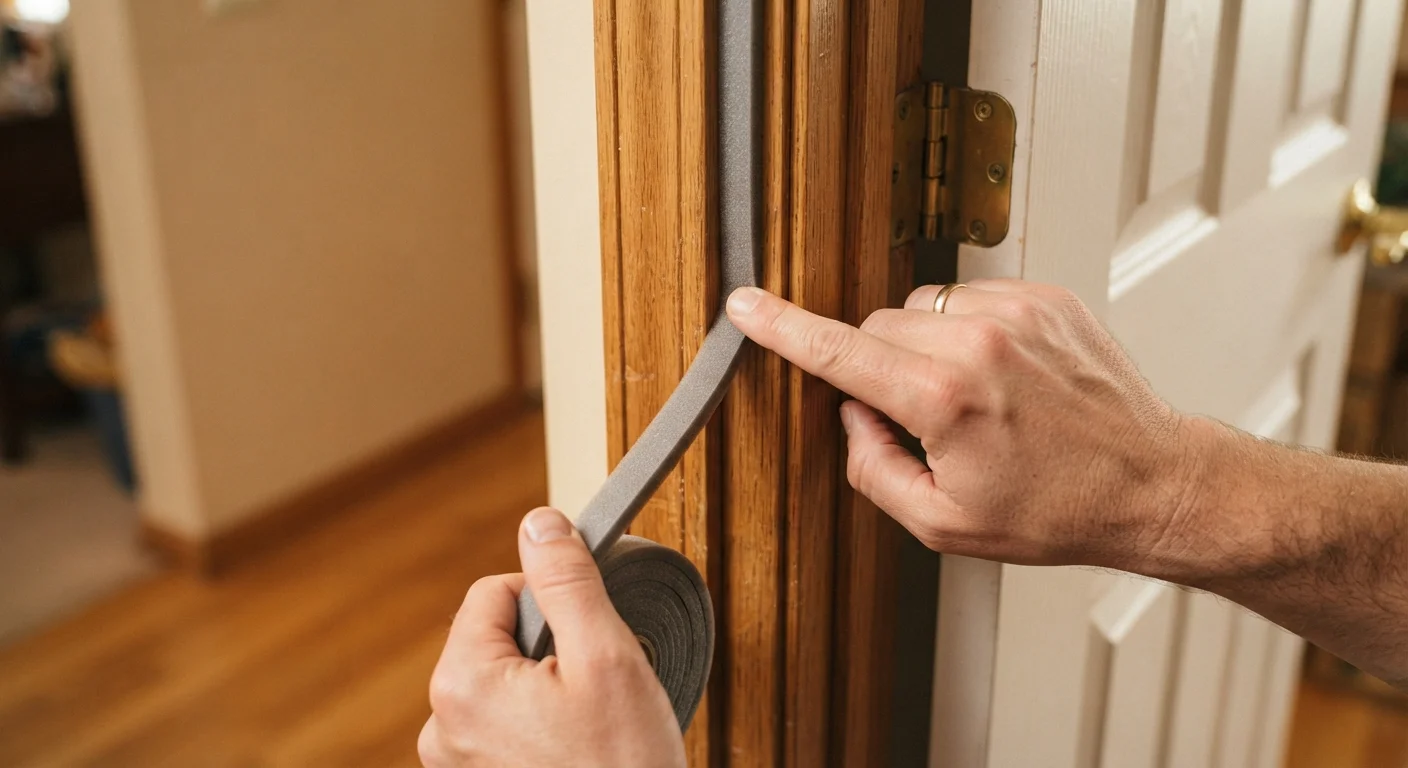
- Foam tape (open- or closed-cell): Easiest to install; ideal for window sashes, sliding doors, and any compression-fit surface where the gap is consistent. Closed-cell foam resists moisture better. Expect to replace it every 1-3 years.
- V-strip (tension seal): A folded strip of plastic or metal that springs open to fill a gap. Well-suited to the sides of double-hung windows and the hinge side of doors. More durable than foam - can last a decade with minimal care.
- Door sweeps: Attached to the bottom interior face of a door to seal the gap between the door and threshold. Available in aluminum with a rubber or brush insert. Essential for exterior doors where drafts enter low.
- Reinforced felt or EPDM rubber: Good for irregular gaps; staple or nail in place. Less common in modern retrofits but effective in older door frames with uneven edges.
Tape measure
Measure door and window perimeters to buy the correct length of weatherstripping.
Utility knife or scissors
Cut weatherstripping to exact length for a clean fit.
Rubbing alcohol and clean rags
Clean surfaces before applying adhesive-backed weatherstripping so it bonds properly.
Hammer and finishing nails or staple gun
Secure felt, V-strip, or non-adhesive weatherstripping in place.
Screwdriver
Attach door sweeps, which are typically secured with screws.
Putty knife or stiff plastic card
Remove old adhesive residue or compress V-strip into narrow slots during installation.
Step-by-Step Installation
Work through one door or window at a time so you can test the fit before moving on. The steps below cover the most common scenarios: foam tape for windows and V-strip or a door sweep for exterior doors.
Remove Old Weatherstripping
Peel or pry away the existing weatherstripping completely. For adhesive types, use a putty knife to scrape off residue, then wipe the surface with rubbing alcohol. For nailed or stapled strips, remove fasteners with a flat pry bar or pliers. Allow the surface to dry fully before proceeding.
Measure and Cut Your Material
Measure each side of the door or window frame separately - corners are rarely perfectly square, and small discrepancies add up. Cut strips slightly long, test-fit them, then trim to exact length. For door sweeps, measure the full door width; the sweep should span edge to edge without overhanging.
Install Foam Tape on Window Sashes
Peel the adhesive backing and press foam tape firmly into the channel where the sash meets the frame - typically the top and bottom rails of the sash. Apply steady, even pressure along the full length. Close the window immediately and hold it shut for 30 seconds to help the adhesive set against the compression surface.
Install V-Strip on Door Side Jambs
Cut V-strip to the full height of the door opening on the stop side of each jamb (latch and hinge sides). Slide or press the strip into the gap with the open end of the V facing outward toward the exterior. For self-adhesive V-strip, peel and press; for nail-on versions, use finishing nails every 12-18 inches. The strip should be invisible when the door closes but provide resistance you can feel.
Attach a Door Sweep to the Bottom
Hold the sweep against the interior bottom edge of the door with the rubber or brush insert just touching the threshold - not dragging heavily, which causes premature wear. Mark the screw hole positions with a pencil, pre-drill if working with a solid wood door, then drive screws snugly. Open and close the door to confirm smooth operation.
Test the Seal and Adjust
Close the door or window and repeat the incense or tissue test from your initial inspection. You should see no movement at sealed edges. For doors, the dollar-bill test is a quick check: slide a dollar bill between the door and frame at several points - you should feel light resistance when pulling it out. If it slides freely, the weatherstripping needs to be repositioned or a thicker profile selected.
Don't Over-Compress the Seal
Weatherstripping that is too thick for the gap can stress door hinges, warp frames over time, or make latching difficult. If a door suddenly feels hard to close after installation, remove the material and choose a thinner or more compressible profile. Forcing the door shut repeatedly can damage the latch hardware.