

Key Takeaways
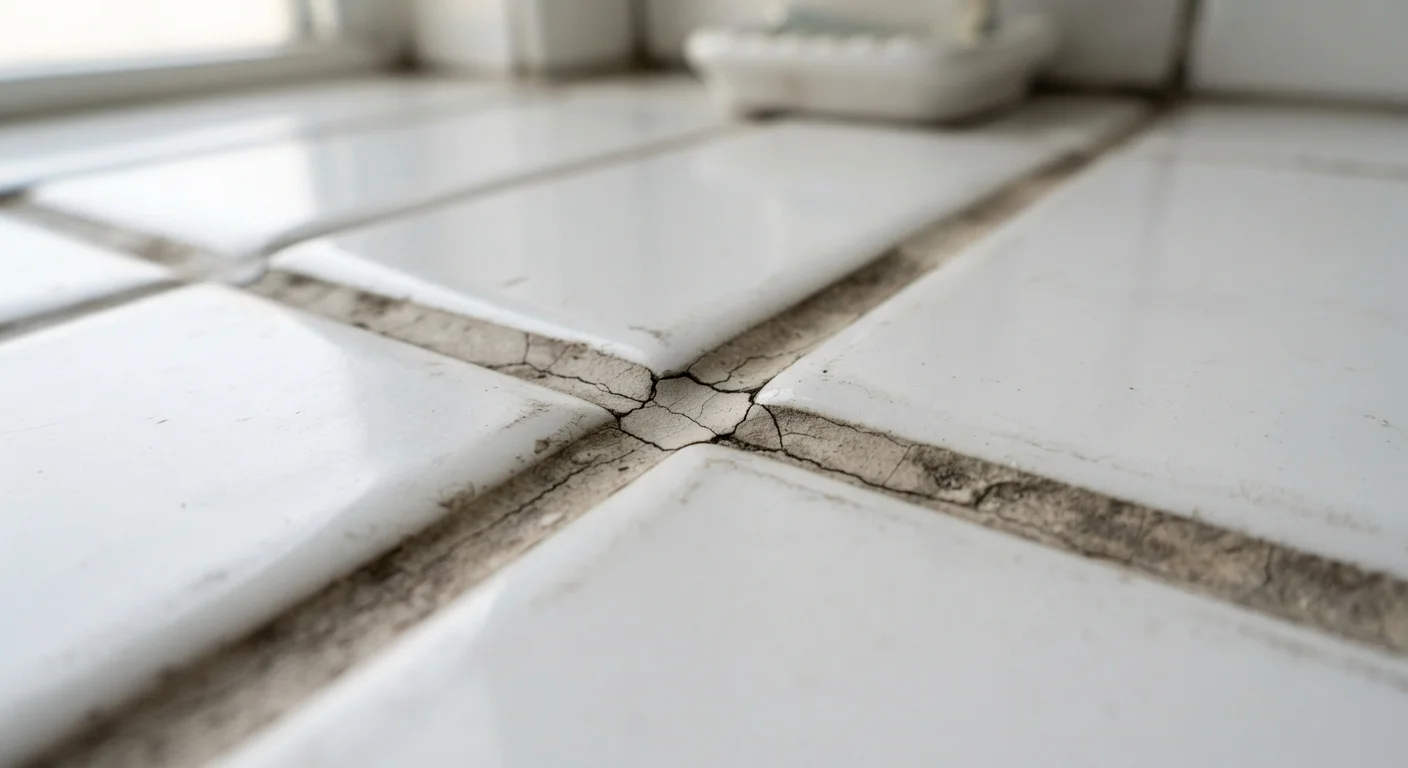
- Cracked grout is usually a symptom of movement, moisture, or installation error - not just age.
- Patching over failed grout without removing it is one of the most common repair mistakes homeowners make.
- Unsanded and sanded grouts have different applications; using the wrong type causes premature cracking.
- Caulk - not grout - belongs in corners and tile-to-fixture transitions to absorb natural movement.
- Persistent or widespread cracking may indicate a structural or substrate problem requiring professional evaluation.
Why Grout Fails in the First Place
Grout cracks for several reasons, and cosmetic wear is rarely the primary culprit. The most common causes fall into three categories: substrate movement, moisture intrusion, and installation errors.
Substrate movement is what happens when the surface beneath your tile - typically a concrete slab, cement board, or plywood subfloor - flexes or shifts slightly. Grout is rigid, so even minor movement causes it to crack. This is especially common in wood-framed floors, where seasonal humidity changes cause subfloor expansion and contraction.
Moisture intrusion compounds the problem. When water seeps through cracked grout, it can weaken the mortar bond beneath tiles, promote mold growth, and cause further cracking through freeze-thaw cycles in exterior or unheated spaces.
Installation errors - the wrong grout type, insufficient curing time, too much water added to the mix, or skipping the sealer - are responsible for a significant share of early grout failures. These mistakes are preventable, but they're also easy to repeat if the root cause isn't identified before repairs begin.
Don't Ignore Widespread or Recurring Cracks
If grout continues to crack in the same spots after a proper repair, or if cracking is widespread across a tiled floor, it may indicate movement in the structural substrate below - not a grout problem at all. In these cases, patching is a temporary fix at best. Have a qualified tile contractor or structural professional assess the subfloor or slab before investing further in cosmetic repairs.
Common Mistakes That Make Grout Problems Worse
Repairing grout sounds straightforward, but the repair process itself is where many homeowners inadvertently set themselves up for repeat failures. Understanding these missteps before you start can save you significant time and frustration.
Applying new grout directly over cracked old grout without removing it first.
Why it happens: It looks like a quicker fix and requires less effort than full removal. Many homeowners assume a thin layer of fresh grout will bond and hold.
Using the wrong type of grout for the joint width or tile type.
Why it happens: Grout packaging isn't always clear, and many people simply buy what looks like a match in color without checking the formulation.
Grouting corners and transitions where caulk should be used instead.
Why it happens: Grout is applied everywhere in a freshly tiled area, and it's not always obvious which joints need a different treatment.
Skipping grout sealer after repairs, or only sealing once.
Why it happens: Sealing feels like an optional finishing step rather than a functional one, so it's often skipped to save time or money.
Repairing grout without investigating whether the tile or substrate is the underlying problem.
Why it happens: The cracked grout is visible and the subsurface issue is not, so homeowners focus on what they can see.
What a Durable Grout Repair Actually Looks Like
A repair that holds long-term starts with diagnosis. Before you buy materials, ask: Is this cracking limited to one or two grout lines, or is it widespread? Does the tile sound hollow when tapped? Is there any visible deflection in the floor when you step on it?
Isolated cracks with no tile movement or hollowness are usually safe to repair yourself. The process involves fully removing the old grout with a grout saw or oscillating tool, cleaning the joint thoroughly, and applying fresh grout that matches the original type - sanded for joints wider than 1/8 inch, unsanded for narrower joints.
Corners where two tiled walls meet, or where tile meets a tub or toilet base, should never be re-grouted. These are movement joints - they flex. Fill them with a color-matched silicone caulk instead, which is flexible enough to absorb that motion without cracking.
Hollow Tiles Change the Repair Plan
If tapping a tile near cracked grout produces a hollow sound, the tile itself has likely separated from the mortar bed beneath it. Regrouting alone will not resolve this - the tile needs to be removed, the failed mortar cleaned away, and the tile reset properly before grout is applied. Proceeding with just a grout repair in this situation risks tile cracking or further de-bonding.
After repairs cure fully - typically 48 to 72 hours depending on the product - apply a penetrating grout sealer. Sealing reduces moisture absorption and extends the life of the repair considerably. Plan to reapply sealer annually in wet areas like showers.
~80%
Grout failures linked to installation issues
Industry tile contractors widely estimate the majority of premature grout failures stem from improper installation rather than product defects.
1/8 inch
Threshold dividing sanded vs. unsanded grout
This is the standard joint-width specification used by the Tile Council of North America to guide grout selection.