

Key Takeaways
- Tackle one utility space at a time to avoid burnout and unfinished projects.
- Every item needs a defined zone - random piling is the root cause of recurring chaos.
- Climate and moisture in attics and basements determine which storage containers are safe.
- Vertical wall space is the most underused asset in garages and basements.
- A seasonal review habit prevents utility spaces from sliding back into disorder.
What you will need
Why These Spaces Resist Organization
Garages, attics, and basements share a common problem: they exist outside the daily flow of a home. Because nobody lives in them, they become default dumping grounds for anything that doesn't fit elsewhere - holiday decorations, sports gear, broken appliances, boxes from the last move. Out of sight genuinely does mean out of mind, and that's exactly why clutter compounds fastest in these rooms.
The other obstacle is environmental. Attics trap heat and humidity. Basements can be damp and prone to flooding. Garages fluctuate with outdoor temperatures. These conditions damage certain materials and demand thoughtful container choices before you invest any time in organizing.
If you've already worked through your main living areas, this guide picks up where that process left off. If you're starting fresh, it helps to first understand the room-by-room decluttering approach so utility spaces fit into your broader home organization plan.
What you will need
Core Principles Before You Touch Anything
Rushing to buy bins and shelving before you've sorted through what you own is the most common and costly mistake. Storage solutions should follow the stuff, not precede it. Start with a full inventory and a ruthless sort - keep, donate, discard, relocate - before measuring a single wall.
Zone planning is the second principle. Each utility space should be divided into functional zones: in a garage, that might be automotive, gardening, sporting goods, and seasonal. In a basement, you might separate active hobby areas from archival storage. Zones prevent the creep that happens when items get set down "just for now." For a deeper look at zoning and other foundational concepts, see our guide on storage principles worth knowing.
Label everything, even when it feels obvious. A labeled bin takes two seconds to identify; an unlabeled one gets opened, rummaged through, and left disheveled. Clear or labeled containers also help other household members maintain the system without asking you.
One Space at a Time Works Best
It's tempting to pull everything out of the garage, attic, and basement simultaneously and sort it all at once. In practice, this usually creates an overwhelming mess that stalls mid-project. Complete one space from empty to fully labeled before starting the next. Progress builds motivation, and a finished space gives you a template for the next one.
Step-by-Step: Tackling Each Space
Follow the steps below in sequence for whichever space you're tackling first. Resist the urge to move to the next space until the current one is fully complete - partial progress in three rooms is harder to maintain than full progress in one.
Empty the space completely - or in large sections
Pull everything out into a visible area: the driveway for a garage, an adjacent hallway or room for a basement or attic. You cannot organize what you can't see. Working section by section is acceptable for very large spaces, but complete the sort for each section before moving on.
Sort every item into four categories
As items come out, place each one into a Keep, Donate, Discard, or Relocate pile. "Relocate" is for items that belong in a different part of the house and drifted into the utility space. Be honest - if something hasn't been touched in two or more years and has no clear future use, it's almost certainly a discard or donate.
Assess the environment and choose containers accordingly
Basements are prone to moisture - use airtight plastic bins rather than cardboard boxes, and keep items off the floor on shelving or pallets. Attics experience heat extremes that can warp plastics and degrade fabrics; use hard-sided containers and avoid storing heat-sensitive items like candles, photographs, or electronics there. Garages are generally more forgiving, but open metal shelving works better than cardboard in dusty or damp conditions.
Define zones and map them before placing anything
Sketch a rough layout of the space and assign each zone a category that matches how frequently it's used. Items used regularly - tools, sports gear in active use, seasonal items for the current season - should be in the most accessible spots. Items used once a year or less go in the back, up high, or in less convenient corners.
Install shelving and wall storage before filling the space
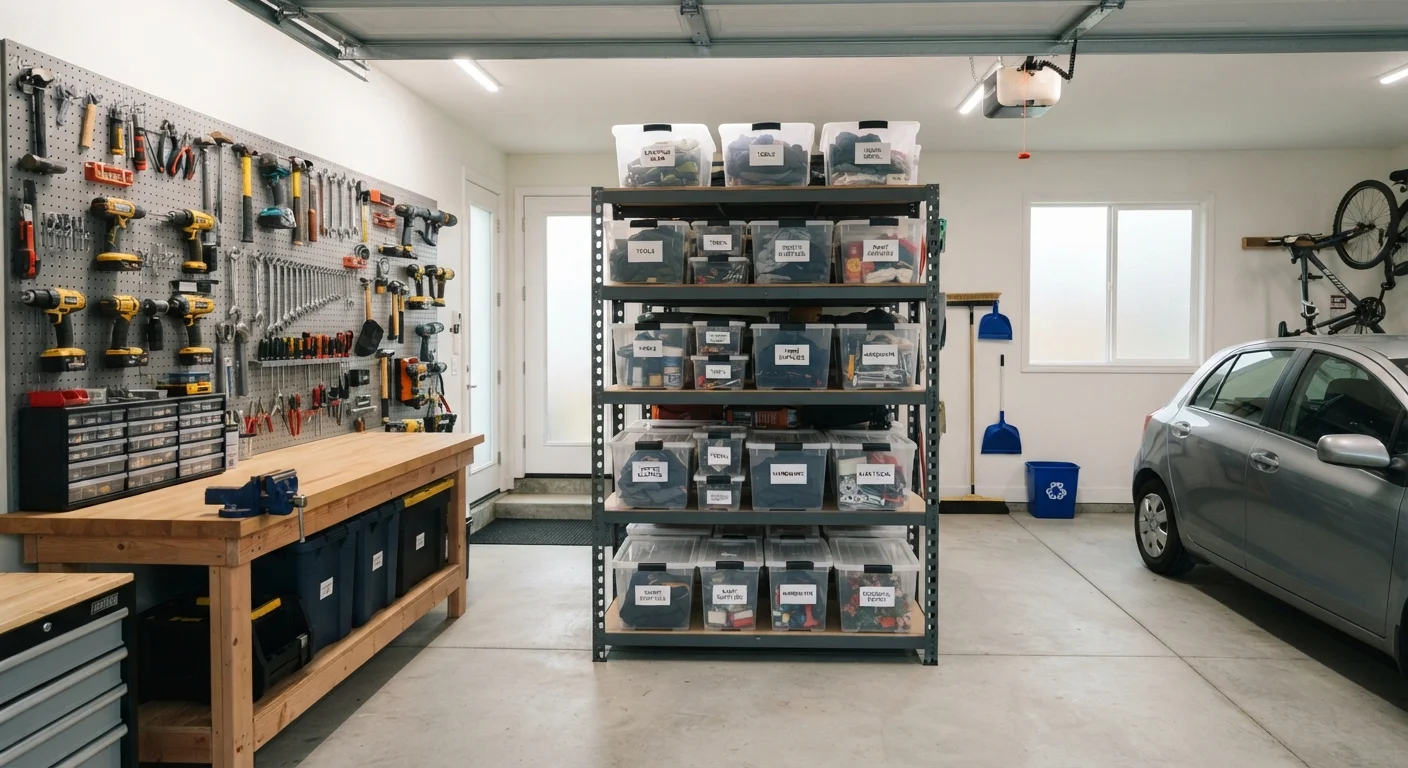
Freestanding metal shelving units and wall-mounted pegboards dramatically increase usable storage in all three spaces. In a garage, pegboards keep tools visible and accessible. In a basement, freestanding shelves keep items off the floor. In an attic, low-profile shelving along the perimeter uses space that would otherwise go to waste. Install these before returning any items.
Label every container and shelf zone
Use clear, specific labels rather than vague ones. "Camping: tents and sleeping bags" is more useful than "Camping." Attach labels to the front face of containers at eye level. For zones on open shelves, use a strip of tape or a small placard at the edge of the shelf to mark the category boundary.
Return only the Keep items - in their assigned zones
Bring items back into the space category by category, placing each into its assigned zone. Resist the urge to "temporarily" set something in the wrong zone - that's how the system unravels from day one. Once everything is in place, remove the donate and discard piles from the property promptly.
Attic Safety: Don't Skip the Basics
Attics can be physically hazardous work environments. Verify that floor joists can safely bear the weight of stored items before loading them up - when in doubt, consult a contractor. Watch for exposed nails, low beams, and poor ventilation. Never store flammable materials near heat sources or electrical fixtures, and check for signs of pest activity or moisture damage before committing to attic storage.
Maintaining What You've Built
Organization in utility spaces degrades for one reason: things get put back in the wrong zone, or not put back at all. A simple seasonal check-in - roughly every three to four months - catches drift before it becomes chaos. Walk through each space, return anything out of place, and assess whether your zone boundaries still match how you actually use the space.
Life changes mean storage needs change. When a hobby gets abandoned, a child grows out of equipment, or seasonal gear is donated, those items should leave promptly rather than staking out permanent real estate. Building that habit is what separates a one-time organizing project from a genuinely functional home. Our article on organizational habits that actually stick covers the daily and weekly routines that make this sustainable long-term.